Pika 1.0 Web Interface is clean and simple to follow.
Main sections
- Profile: Located in the top right corner.
- Prompt Input Area: To provide your prompt.
- Attachment Button: For image-to-video or video-to-video options. In video-to-video, you get options to modify the region and expand the canvas.
- Video Options: Include aspect ratio and frames per second settings.
- Motion Control: Includes camera control and motion strength.
- Parameters Options: Offer negative parameters, seed, and consistency with the text (prompt strength).
- My Library: Lists all your creations with their prompts.
This is how you can generate text to video and explore the other options available in the new interface.
Prompt: “3D animation style depiction of Albert Einstein in a classic physics lab setting.”
Negative Prompt: morphed, bad face, deformation, bad hand
Seed: 4567
Once you click ‘generate’, it will take about a minute to produce a 3-second video. If you don’t like the video, you can click the ‘retry’ button, and it will generate another video with the same prompt, but the seed will be random this time.
Once you click ‘generate’, it will take about a minute to produce a 3-second video. You can then select the video and click on ‘edit’, which will bring the video into the editor. Here, you can use ‘expand canvas’.
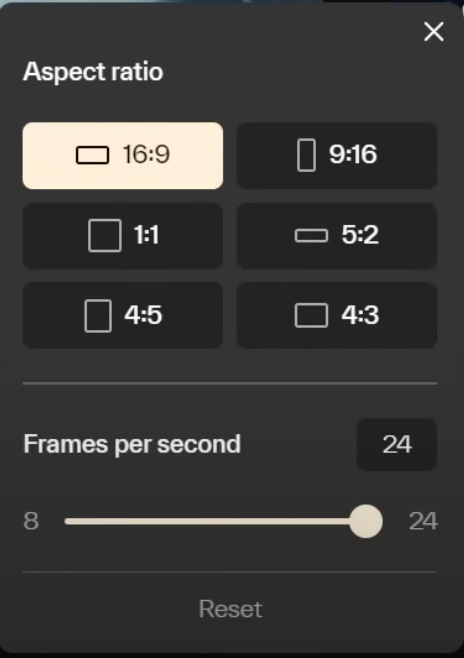
You can select 16:9 aspect ratio, then 1:1, next 9:16, and lastly, I used 16:9 again. You can see how easily Pika is able to expand the video canvas using AI, and it’s seamless.
Note:
- If the featured video is upscaled, you won’t be able to edit it, but you can still use the prompt.
- If the video is not upscaled, you have all the options available like Retry, Re-prompt, Edit, Add 4s, and Upscale.
Try Pika 1.0 at https://pika.art.
Read other related articles: